What Is the Exterior Painting Preparation Process?
Most homeowners know prep is important before an exterior paint job, but it’s not always clear what “prep” actually includes. You might be wondering whether it’s just a quick wash and a few patches, or a longer process that takes real time before any paint goes on.
That’s a smart question to ask, because the exterior painting preparation process is what determines whether the finished paint holds up for years or starts peeling and looking worn much sooner than expected. Paint doesn’t bond well to dirty surfaces, chalky residue, moisture, or damaged material. If those issues aren’t handled properly, even high-quality paint can fail early.
This breakdown walks through what a professional crew typically does to prepare an exterior the right way. You’ll learn what gets inspected first, how surfaces are cleaned, what gets scraped and sanded, where caulking and repairs come into play, and why primer matters in certain areas. By the end, you’ll have a much clearer picture of what “real prep” looks like and why it’s the foundation of a long-lasting exterior paint job.
Prep Is What Makes Exterior Paint Last (Not Just Look Good on Day One)
A fresh exterior paint job can look great right away, but the real question is how well it holds up after sun, weather, and time.
The biggest reason exterior paint fails early is simple: paint can’t bond properly to dirty, chalky, or damaged surfaces. When the surface underneath is unstable, the paint may look fine at first, then start peeling, bubbling, or wearing unevenly.
A real exterior painting preparation process is designed to prevent those problems before they start. Prep isn’t just “extra work.” It’s the system that makes the paint perform.
A proper prep process is built to do three things.
First, it cleans the surface so paint can stick the way it’s supposed to. Dust, grime, mildew, and residue can act like a barrier between the paint and the home.
Second, it stabilizes problem areas. Loose paint, soft wood, or failing caulk will keep spreading if they aren’t corrected before new paint goes on.
Third, it creates a smooth, paint-ready base. The goal isn’t just protection. It’s a finish that looks even in daylight and stays consistent over time.
When prep is skipped or rushed, the paint job is basically on a countdown. It may still look fresh for a short period, but the weakest areas tend to show issues first. Prep is what protects the investment and keeps the exterior looking solid long after day one.
The First Step Is a Walk-around and Surface Check
Before any washing, scraping, or painting happens, a professional crew needs to understand what condition the exterior is actually in.
That starts with a walk-around and surface check. The goal is to spot the areas that will need extra attention, and to avoid guessing once the project is underway.
During this inspection, pros typically look for:
- Peeling or flaking paint, especially around trim and exposed edges
- Chalking or oxidation, where old paint leaves a powdery residue
- Mildew or algae growth, often on shaded sides of the home
- Soft wood, rot, or exposed material that may need repair
- Cracks, gaps, failed caulk, and open seams that can let moisture in
This matters because the prep plan depends on what the surface needs, not what the paint label says.
Two homes can use the same paint, but require completely different preparation. One may only need light scraping and spot priming, while another needs deeper cleaning, sanding, repairs, and sealing before it’s ready.
The walk-around also helps confirm what should be protected during the project, like landscaping, windows, or exterior fixtures. When the surface check is done properly, the rest of the prep steps follow a clear plan instead of becoming a series of last-minute fixes.
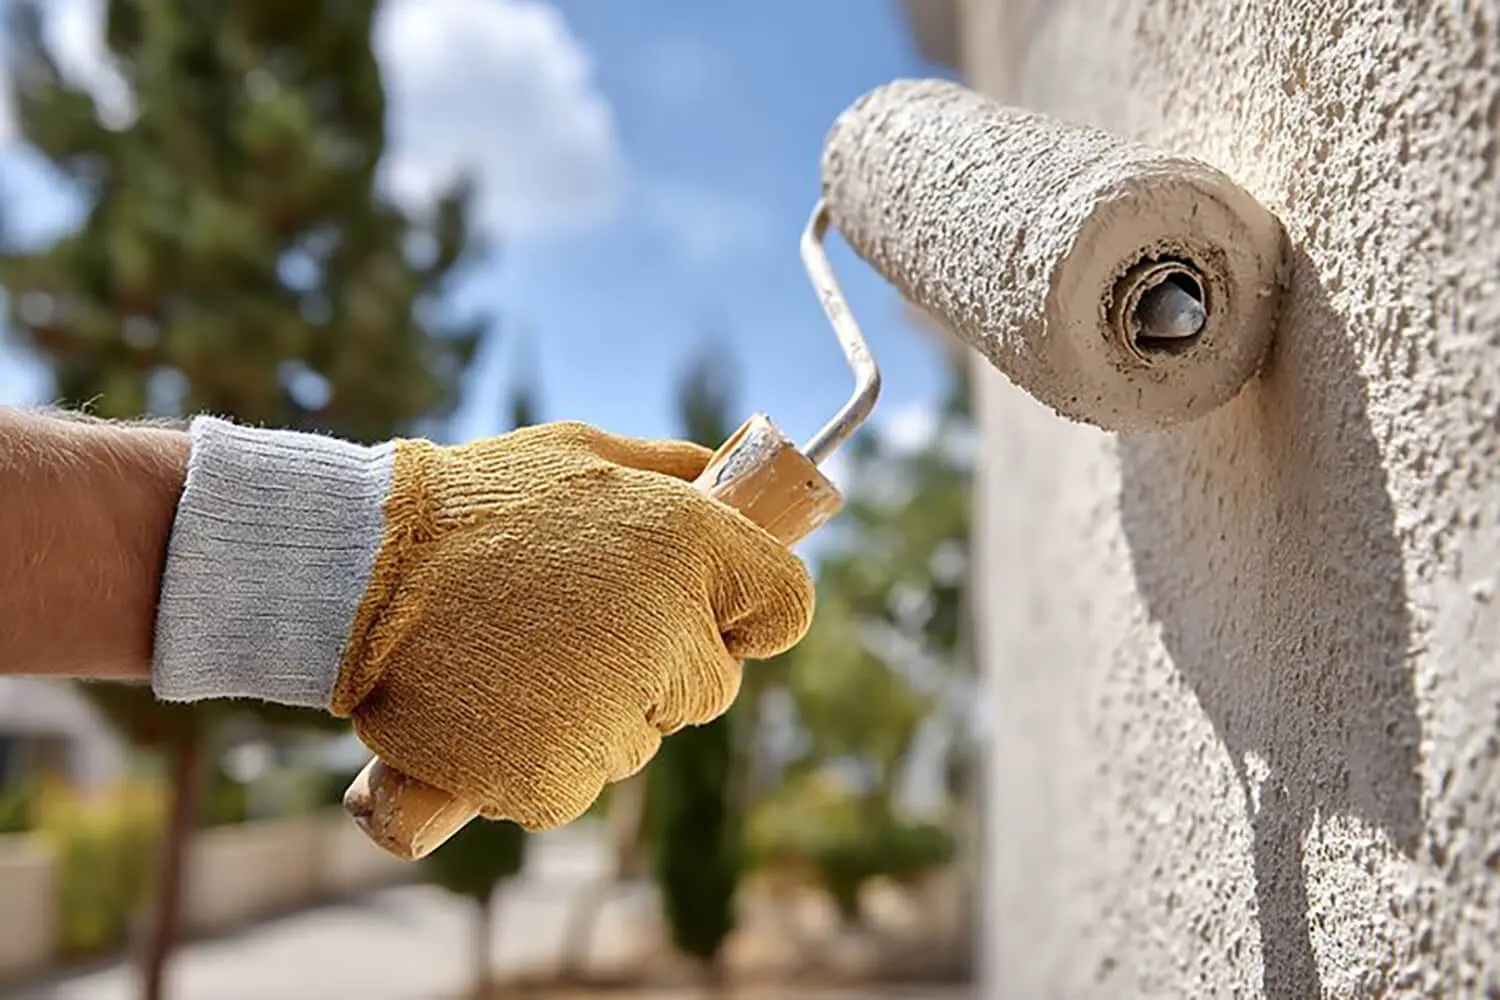
Cleaning Comes Next (Because Paint Can’t Stick to Dirt)
Once the exterior has been inspected, cleaning is usually the next step. Even if the home doesn’t look “dirty,” exterior surfaces build up layers of residue that paint won’t stick to.
Cleaning is meant to remove the things that interfere with adhesion and lead to early failure.
Exterior cleaning often removes:
- Built-up dirt and dust from wind and traffic
- Pollen and pollution residue that clings to siding and trim
- Mildew or algae growth on shaded or damp areas
- Chalky residue left behind by older paint
This step prevents several common issues that show up after a paint job:
- Peeling because paint can’t bond to residue
- Bubbling caused by trapped moisture or contamination
- Rough texture from debris left on the surface
- Uneven coverage that looks patchy in sunlight
Professional crews also choose cleaning methods based on what the surface can handle. Some materials can be safely cleaned with pressure washing, while others need a gentler approach to avoid damage.
The right method depends on the condition of the home, the type of surface, and how much buildup is present. Either way, the goal is the same: a clean surface that allows the next prep steps, and eventually the paint, to hold properly.
Loose Paint Gets Removed Before Anything Else Moves Forward
After cleaning, the next priority is removing any paint that’s already failing.
This step matters because new paint will only be as strong as what it’s stuck to. If old paint is loose, flaking, or peeling, applying fresh paint over it won’t “seal it in.” It usually means the new paint will lift with it later.
Crews typically remove:
- Peeling edges that are already lifting from the surface
- Brittle or weak paint layers that scrape off easily
- Any spots where the existing paint has clearly lost adhesion
Homeowners often don’t realize how quickly this issue can spread. A small peeling patch can keep growing if it isn’t taken back to a solid, stable edge before repainting.
This part of the exterior paint prep process is especially common on:
- Trim edges and corner boards
- Sun-exposed sides of the home where paint breaks down faster
- Older paint layers that have built up over time
Removing loose paint doesn’t mean stripping the entire home every time. Most prep work focuses on the problem areas that need it, then blends those areas so the final finish looks smooth and consistent.
Rough Areas Get Smoothed So the Finish Looks Even
Once loose paint has been removed, the surface often needs to be smoothed so the final paint doesn’t highlight every edge and rough spot.
Scraping can leave sharp transitions between bare areas and painted areas. Wood can also develop raised grain over time, and some existing paint finishes can be too slick for new paint to bond well.
Sanding during exterior prep is meant to:
- Blend scraped edges so they don’t show through the finish
- Smooth rough wood or raised grain
- Dull glossy or hard surfaces so new coatings adhere properly
This step isn’t just about durability. It has a big impact on how the paint job looks once the home is in full sunlight.
Without smoothing, the final surface can look uneven, with visible ridges where old paint ended and new paint began. In certain lighting, it can create a patchy or wavy appearance that stands out even when the color itself looks good.
Sanding also helps create a more uniform base so primer and paint apply evenly. It’s one of those prep steps that you don’t notice when it’s done well, but you often notice when it’s skipped.
Gaps and Cracks Get Sealed Before Painting
After the surface is cleaned, scraped, and smoothed, sealing gaps is one of the most important prep steps for long-term performance.
Small cracks and open seams may not look like a big deal, but they give moisture a way in. Once water gets behind paint, it can cause swelling, peeling, and rot that spreads over time.
Caulking is typically used to seal:
- Trim seams where boards meet
- Joints and transitions between materials
- Small cracks that can allow water intrusion
This part of the prep work matters as much for protection as it does for appearance. Sealed seams create cleaner lines, but more importantly, they reduce the chance of moisture getting behind the paint system.
Caulking tends to matter most in high-risk areas, including:
- Around windows and doors
- Along fascia and soffits
- Along trim boards and corner joints
Skipping this step often leads to early breakdown in the places that take the most weather exposure. Sealing gaps helps the paint job hold up longer, especially on exteriors that deal with sun, wind, and coastal moisture.
Repairs Get Handled Before Primer Goes On
Once the exterior is clean and sealed, any needed repairs should be handled before moving forward with primer or paint.
Prep isn’t just about getting paint to stick. It’s also about making sure the surface underneath is solid. If something is damaged, soft, or deteriorating, painting over it only hides the issue temporarily.
Common repairs during exterior prep include:
- Replacing small sections of damaged wood
- Patching worn or deteriorated spots
- Addressing soft areas before they spread further
These repairs belong in the prep stage because they affect both durability and finish quality. A repaired surface gives the paint a stable base. A weak surface can keep breaking down under the coating, even if the paint looks fine at first.
Fixing repairs before primer also allows those areas to be sanded and blended properly. That helps prevent rough patches, uneven edges, or spots that flash through after the topcoat is applied.
When repairs are skipped, the paint job may still look good for a while. But the underlying damage usually returns, and it often shows up as peeling, cracking, or visible surface failure sooner than expected.
Primer Is the Bridge Between Prep and Paint
Primer is the step that connects prep work to the final paint system. It isn’t always needed on every inch of the house, but when it is needed, it plays a major role in how well the paint bonds and how consistent the finish looks.
Primer is commonly used when there are areas that would otherwise paint unevenly or wear faster than the rest of the surface.
Primer is often needed on:
- Bare wood or exposed substrate
- Repaired or patched areas
- Stain-prone surfaces
- Uneven or porous spots that absorb paint differently
- Heavy color changes where coverage needs help
What primer actually does is improve adhesion and create a more stable, uniform surface. It helps seal repaired areas, reduces absorption differences, and gives the topcoat something consistent to grip before selecting the right paint finish options for your exterior.
Skipping primer in the wrong spots can create problems that show up even when the paint job is new. You may see flashing, where repaired areas look different in certain lighting. You may also see uneven sheen, weak coverage, or premature wear in the places that needed more support.
When used correctly, primer helps the topcoat look even across the entire home and hold up longer under sun and weather. It’s a key part of a professional exterior paint prep process, especially when the surface isn’t perfectly uniform to begin with.
Final Masking and Protection Happens Right Before Painting
Once the surface prep and priming are complete, the last step before paint goes on is protecting everything that shouldn’t get painted.
This is part of the exterior painting preparation process because even a great paint job can look sloppy if overspray or brush marks end up on glass, fixtures, or nearby surfaces.
Final masking and protection typically covers:
- Windows and glass
- Landscaping, shrubs, and planters
- Walkways, patios, and hardscapes
- Light fixtures, door hardware, and exterior details
This step helps keep the work clean and controlled. It also prevents time-consuming cleanup later and reduces the risk of accidental damage to surrounding areas.
Protection is especially important when spray application is used, or when the home has detailed trim, multiple transitions, or tight spaces near plants and hard surfaces.
When masking is done carefully, painters can move efficiently without constantly stopping to wipe, scrape, or fix mistakes. It’s one of the final steps that helps the actual painting phase go smoother and keeps the finished exterior looking sharp.
A Surface Is “Ready” When It’s Clean, Dry, and Stable
Exterior prep isn’t the flashy part of a paint job, but it’s the part that makes the finish last. When a home is properly cleaned, stabilized, repaired, sealed, and primed where needed, the paint has the best chance to bond evenly and hold up over time.
That’s what a real exterior painting preparation process is designed to do. It removes the layers that paint can’t stick to, corrects the weak points that cause peeling, and creates a surface that’s clean, dry, and stable before the first coat ever goes on.
If you’re planning an exterior repaint, the smartest next step is getting a prep plan that matches your home’s condition. Sucro Painting can provide a detailed breakdown of what prep your exterior needs as part of our professional exterior painting services, along with what’s included and what to expect before painting begins. That way, you’re not guessing—and you’re not paying for a paint job that only looks good for a short time. You can request an exterior painting estimate to get a clear prep plan before moving forward.